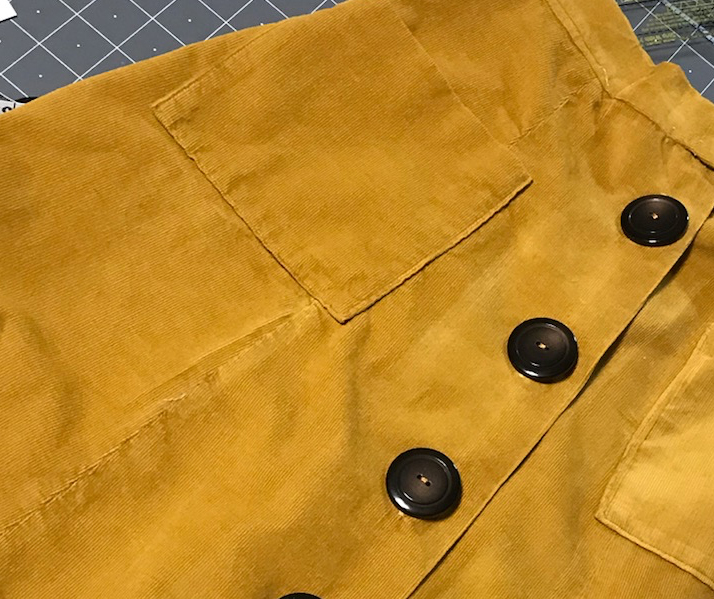
I got a little dragging out accomplished over the weekend. You know, the precursor to culling and packing. And also accomplished two things:
and
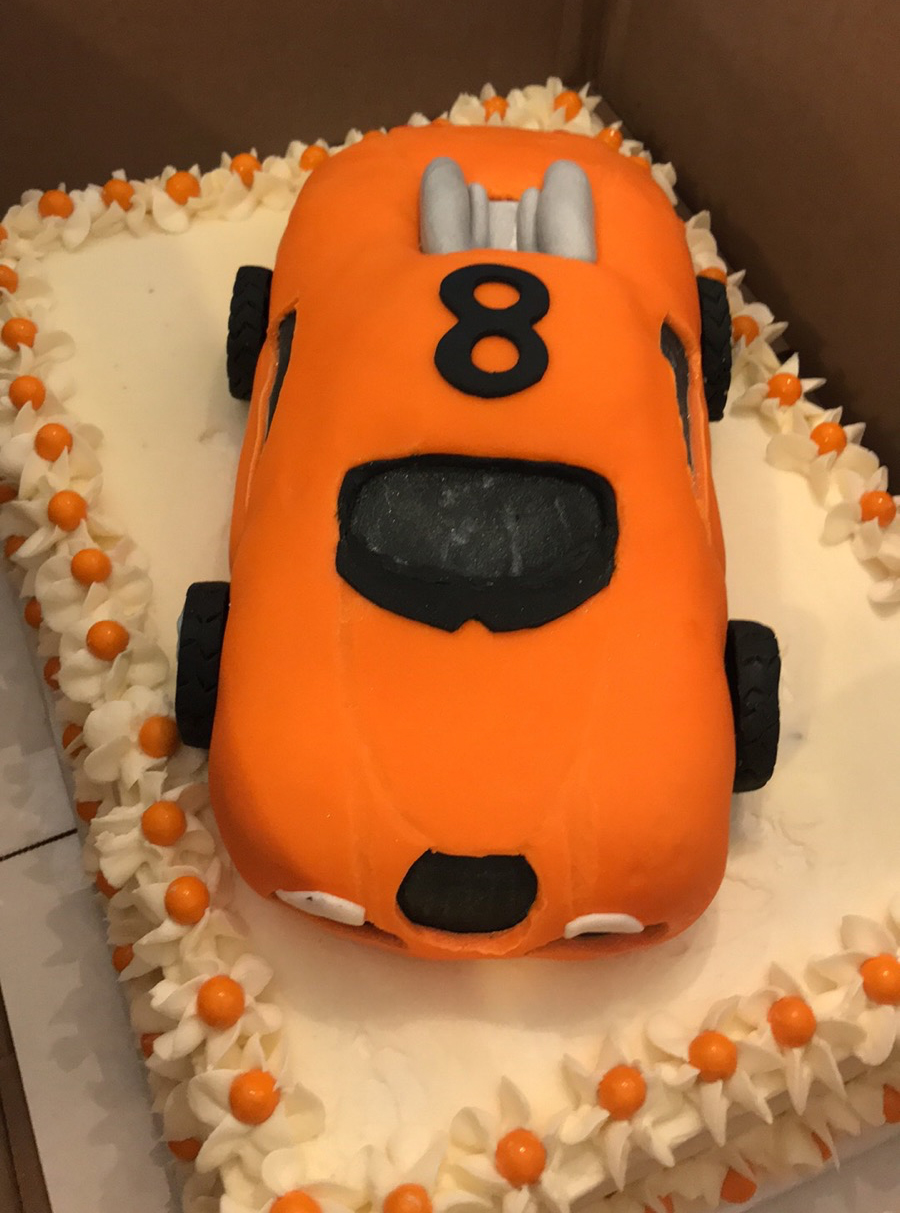
Not my best cake work but the little guy it was for liked it and that is what matters. The car (a Bugatti??) is made of cereal and covered in fondant. The cake is just a plain yellow sponge with buttercream icing. And chocolate candies on the edge. The car replica must have been close enough because several men that saw it said: “Is that a Bugatti?”. LOL
Okay – back to the grind! I have some pretty great things coming up after we move house so stay tuned.
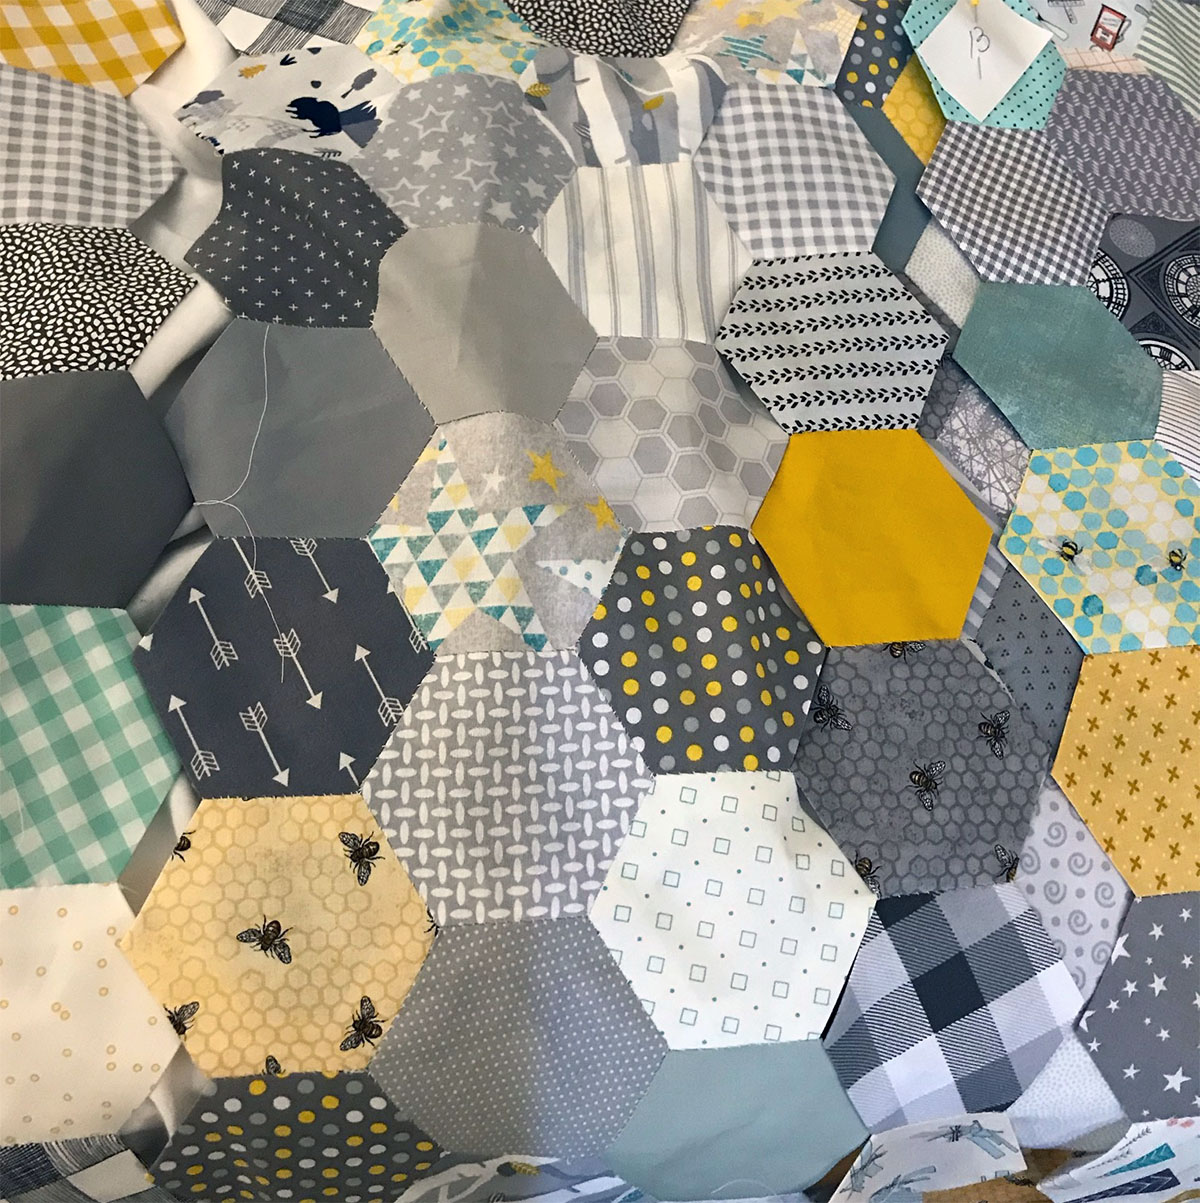
Happy to see so many pieces sewn together. Taking a break while my hands spring back to life! I might finish this quilt top for Sully after all! I am still in love with the colors and plan to get the top made and then have it quilted at a local quilt shop. My old arthritic fingers won’t allow me to hand quilt, I’m afraid. I’m enjoying a bit of uninterrupted sewing time while my husband is in school and I am hold-up in a hotel during the day. It’s nice to spend our evenings together, eating out and lots of good conversations.
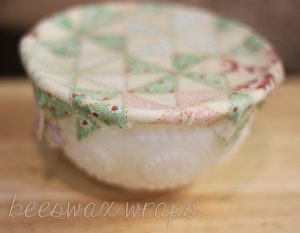
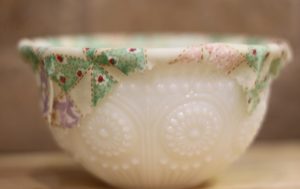
I experimented with using soy wax. I wasn’t pleased with the outcome. It didn’t stick to my bowl and felt greasy rather than sticky.
If you want to give it a try, here is what worked for me:
Set your oven to 200F. Cover a baking sheet with foil and parchment paper or just parchment. Cut your desired shape/size fabric with pinking shears. Place your fabric on the lined baking sheet. I used 1/8 tsp coconut oil (keeps the fabric malleable after it dries) to 1 1/2 cup beeswax pellets* (I buy mine from Soapers Choice) melted together and stirred well to combine. Brush the melted wax/oil mixture on with a brush you don’t intend to use for anything else! If the beeswax begins to harden on your fabric before you are finished, pop the baking sheet/fabric in the oven for a minute or two and finish brushing until your fabric is completely coated with a thin coat of the beeswax/oil mixture. Remove the beeswax wrap from the parchment and place it on a clean sheet of parchment to cool and dry. VOILA!
I am thinking if I ever open my etsy shoppe again, I might add these.
*a few websites suggested using pine resin to keep the wraps sticky, but honestly, I didn’t want any scent but beeswax and I wasn’t sure the pine resin would be odorless.